Use test data from data entities
You can use test data from shared data entities to drive API Monitoring tests.
This article covers the following tasks:
Prepare your data entities
To add a Data Entity:
-
Go to the BlazeMeter Performance or Functional tab.
-
Navigate to Test Data.
-
Select Add Data Entity.
-
Choose from Create New Data Entity, Import Data Entity from exported file, or Create New Data Entity from exported file.
For more information on creating and modifying Data Entities, see How to Generate Synthetic Test Data.
-
(Optional) Enable sharing of your Data Entities. See How to Share Test Data to learn more.
Add data entities to API Monitoring test
To use your Test Data from shared Data Entities:
-
Go to the BlazeMeter API Monitoring tab.
-
Open or create an API Monitoring Test.
-
Go to Editor > Environment > Test Settings and select Test Data.
-
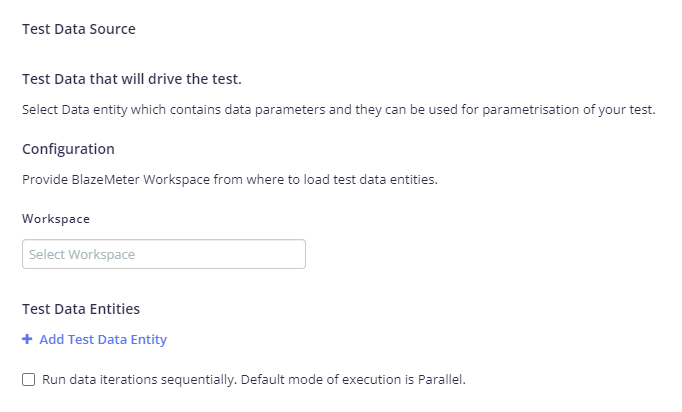
Under Test Data Source, select Add Test Data.
-
In the Workspace input drop-down, select the Workspace from which to draw your Test Data.
-
Under Test Data Entities:
-
Select Add Test Data Entity and choose from the available list of entities.
A preview of your entity will be available under Test Data Preview, and the variables will be listed under Test Steps > Parameterisation.
- (Optional) Add additional entities to use in the test.
-
(Optional) Configure the Number of Rows and Data variant for each entity.
If you are using multiple Data Entities, the test will draw the maximum number of data rows that have been specified among the entities. For instance, if you have three Data Entities with 1, 2, and 10 Number Of Rows specified, the test will draw 10 data rows.Depending on your subscription plan, you may be subject to a limited number of data rows. If your specified Number of Rows exceeds the data row limit, the Test Data size will be automatically reduced to match your subscription. - (Optional) To execute data iterations in sequence instead of in a parallel run, check the Run data iterations sequentially box.
-
Add your parameters
You can now add data parameters using the test data variables in your Request and Assertions sections, much like regular variables. For more information, see Dynamic data and request chaining.
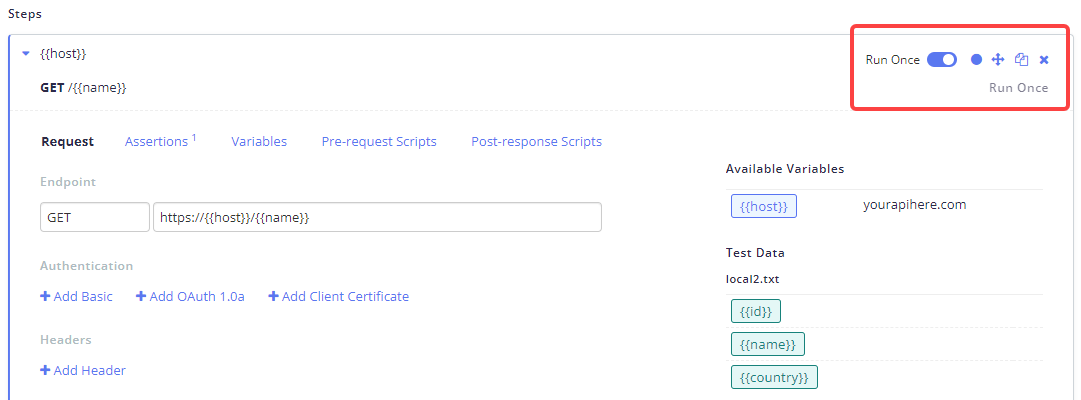
Go to Editor > Steps > Parameterisation to view the available variables from your Data Entities, and add them to Request or Assertions.
Run your data-driven test
After uploading and configuring your CSV data file or Data Entities, and adding parameters to your step Request or Assertions, click Run Now.
After enabling, click Save and Run.
View test iterations and individual data line results
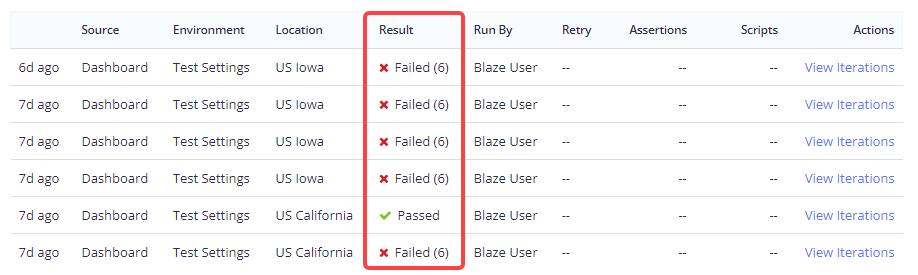
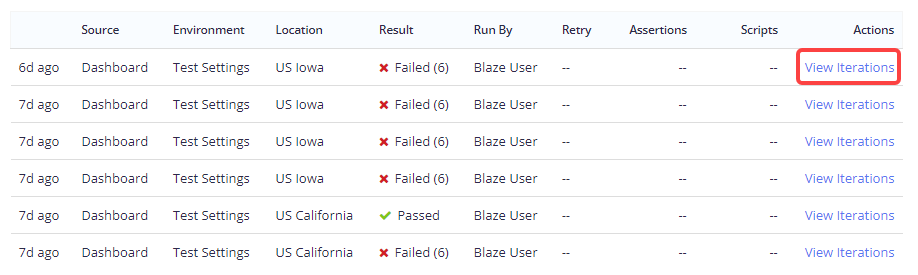
For data-driven tests, test results will be grouped in Iterations. Each iteration represents a test execution using a single data line entry from the CSV file or Data Entity.

Each set of Iterations will show a failed count (if any). This represents the number of individual iterations that failed within that group.
Access individual data line result
To view an individual iteration/data line result:
-
Go into a test and select Results.
-
Click on View Iterations to show the individual iterations.
-
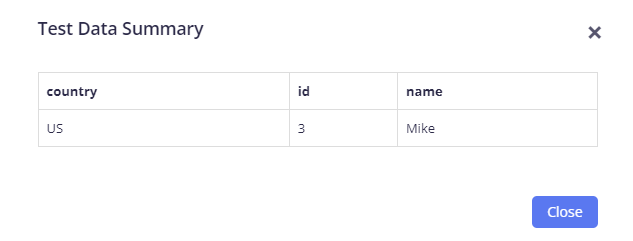
Identify the specific iteration by clicking View Test Data.
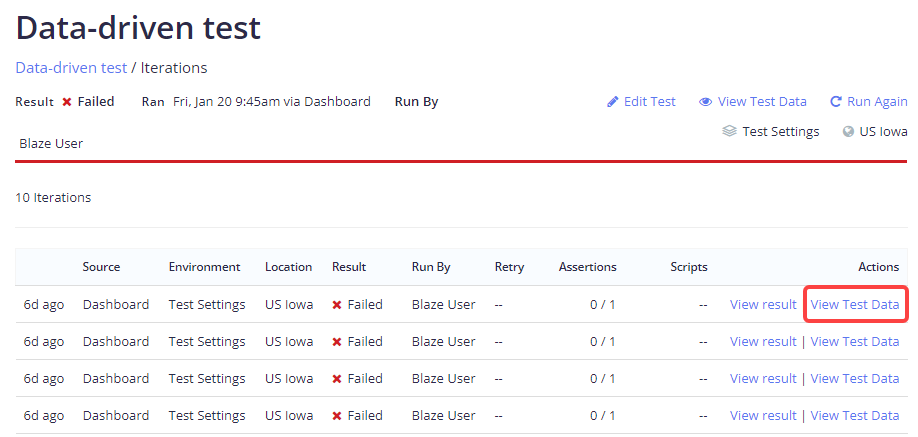
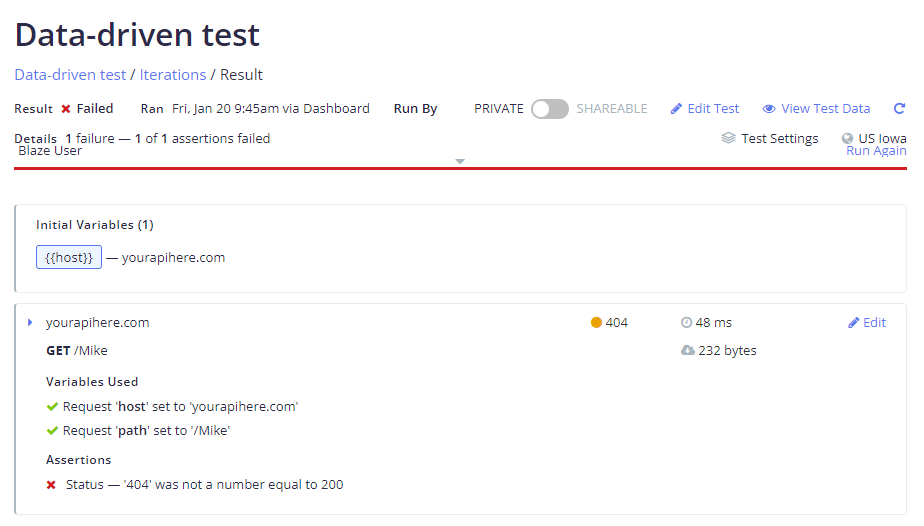
This will bring up the data line from that particular iteration, as follows:
 Clicking View Test Data next to the test name in the Iterations view will show all the data lines used in all the iterations.
-
Once you've identified the iteration, click View result.
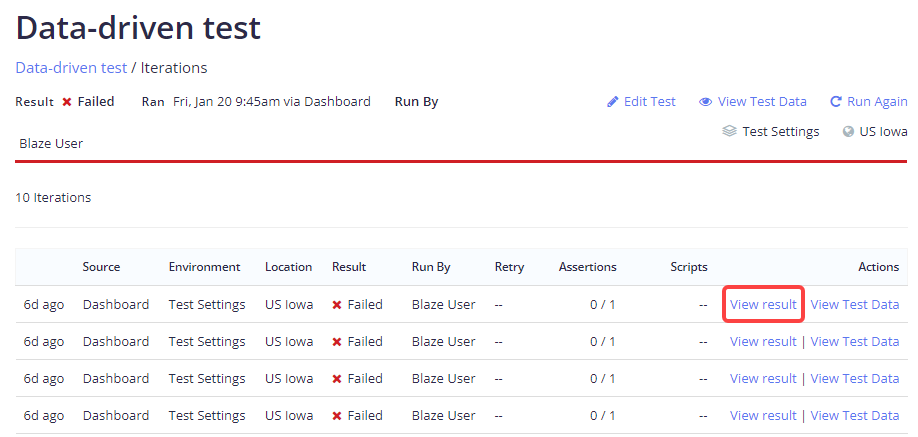
The individual data line result is shown: