Clone service with all transactions
Services are logical groupings for transactions and virtual services. You can clone transactions that are under a specific service to a new service. You can also find and replace a specific text in transactions while cloning. You can create a virtual service that contains all the transactions that have been cloned. After you clone a transaction, a virtual service is created under the new service.
This article contains:
- Clone all transactions in a service
- Find and replace text in transactions while cloning
- Create a virtual service after cloning
Clone all transactions in a service
Follow these steps:
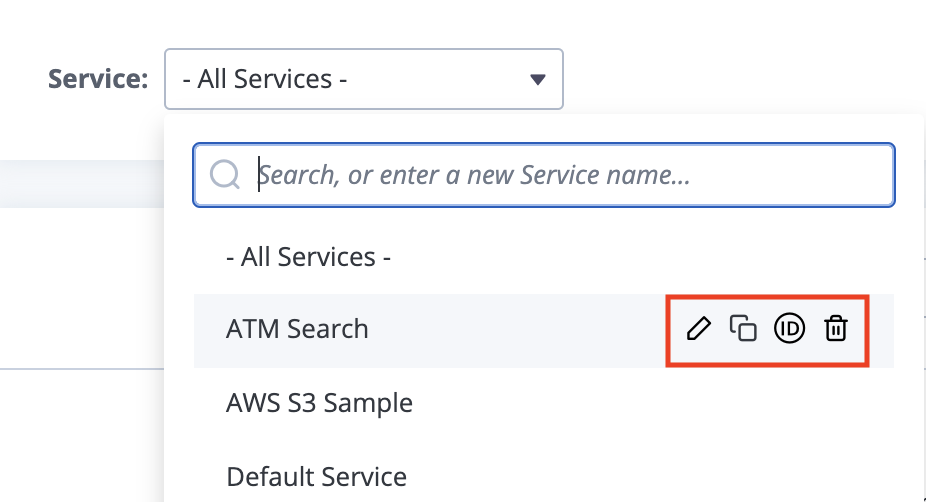
- Navigate to the Service virtualization tab, Virtual services, and expand the Service drop-down list.
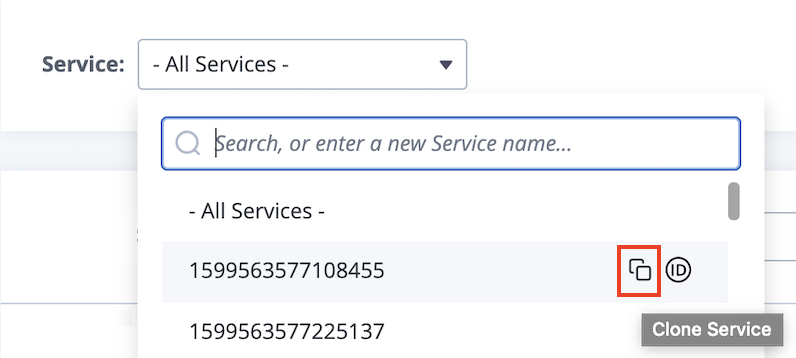
- Hover over the service entries to see the pop-up action icons next to each entry.
- Click the Clone service icon for the service that you want to clone.
A new Clone service window opens. - Enter a service name.
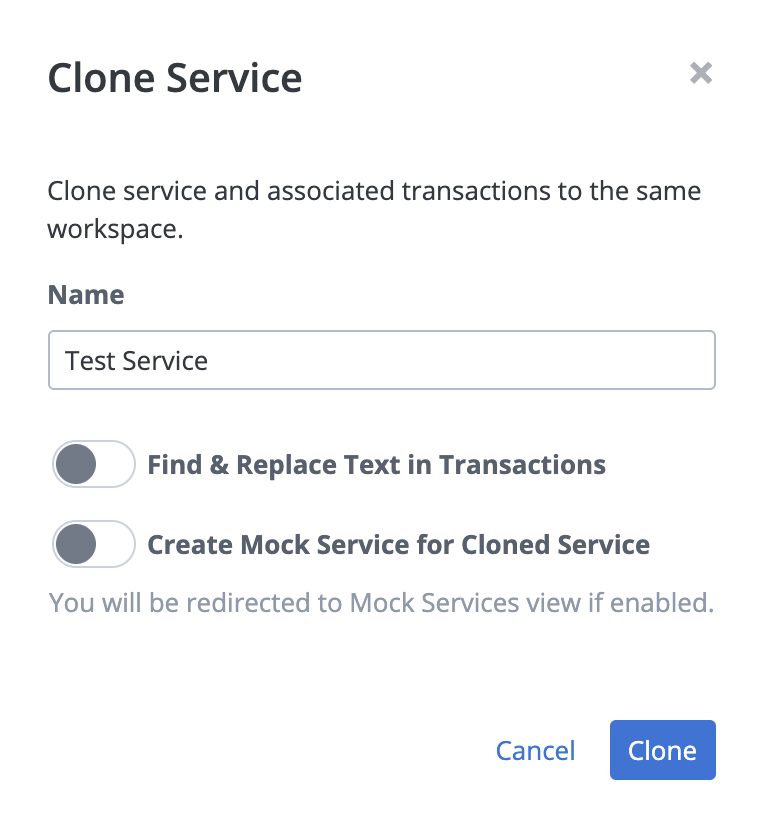 Use a unique service name for each clone. If the service name already exists, the Clone button is disabled. For APIs, a clone with a duplicate service name returns an HTTP 400 Bad Request error message. To learn more, see Cloning API.
 - Click Clone.
Find and replace text in transactions while cloning
Use this option if you want to modify parts of transactions while cloning. For example, you might need to change an API version from v1 to v2 for all transactions. You can make this change in bulk while cloning, instead of manually.
Follow these steps:
- Navigate to the Service virtualization tab, Virtual services and expand the Service drop-down list.
- Hover over the service entries to see the pop-up action icons next to each entry.
- Click the Clone icon for the service that you want to clone.
A new Clone service window opens. - Enter a service name.
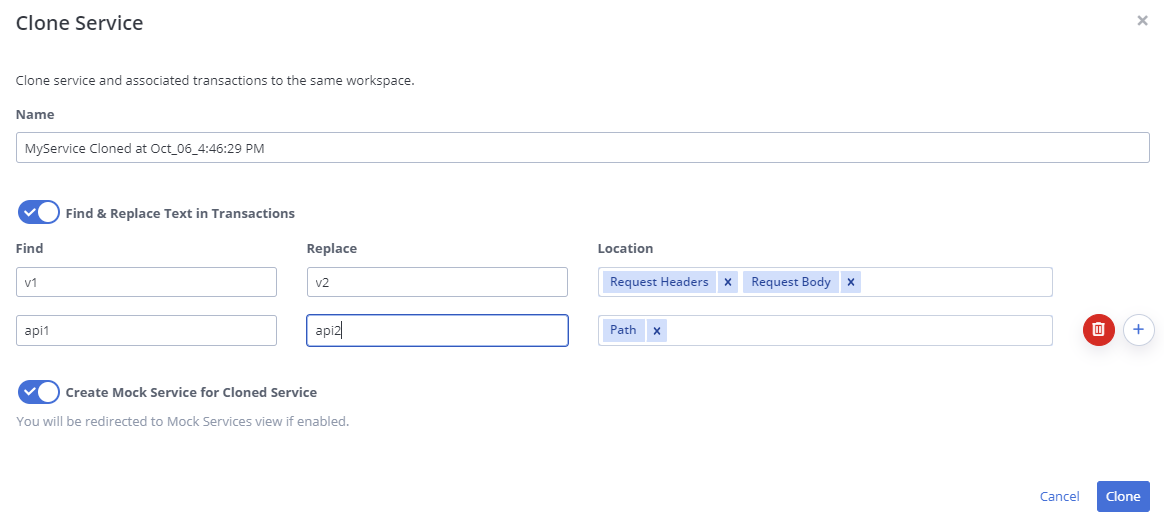
Use a unique service name for each clone. If the service name already exists, the Clone button is disabled. For APIs, a clone with a duplicate service name returns an HTTP 400 Bad Request error message. - Enable the Find and replace text in transactions button.
- Enter a text to Find and a text to Replace it with, and a Location.
You can find and replace in the following entities:- Query Parameters
- Cookies
- Request headers
- Request body
- Response headers
- Response body
- Proxy URL
- Path
- Everyhwere
- (Optional) Click the plus button to search and replace more strings.
- (Optional) Click the delete button to remove a line.
- Click Clone.
Create a virtual service after cloning
Use this option if you wish to have a virtual service created with all the transactions that have been cloned.
Follow these steps:
- Navigate to the Service virtualization tab and expand the Service drop-down list.
- Hover over the service entries to see the pop-up action icons next to each entry.
- Click the Clone icon for the service that you want to clone.
A new Clone service window opens. - Enter a service name.
Use a unique service name for each clone. If the service name already exists, the Clone button is disabled. For APIs, a clone with a duplicate service name returns an HTTP 400 Bad Request error message. - Enable the Create virtual service for cloned service button.
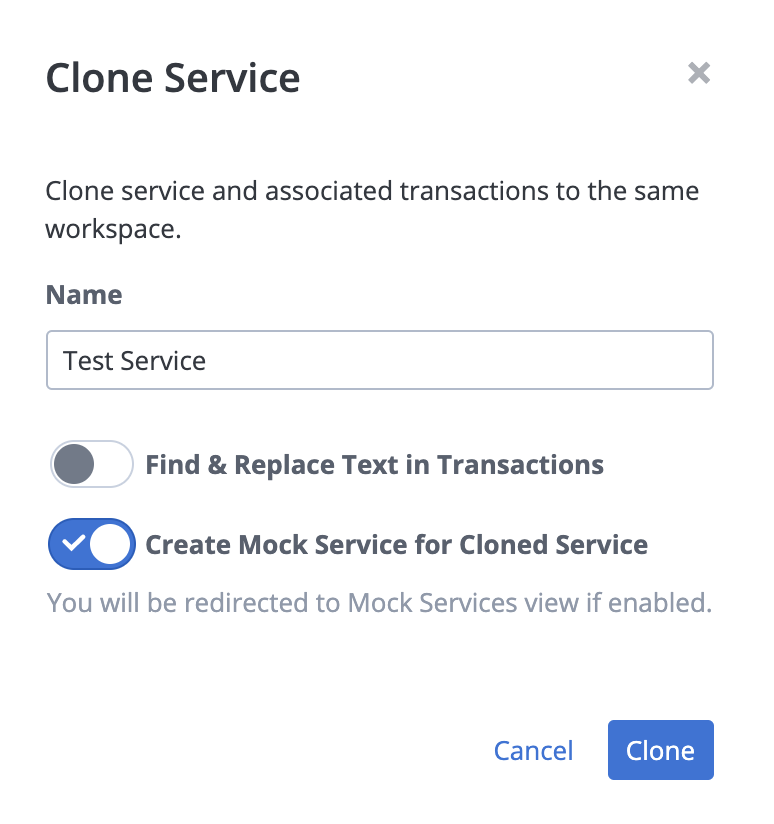
- Click Clone.
You will be redirected to the virtual service page. A virtual service is created under the new service and contains all the transactions that have been cloned. - Verify the created virtual service and click Run to deploy the cloned virtual service.
If you are a workspace manager or administrator, you can rename or delete a service. To learn more, see Rename or delete a service.