Shared folders
You can use the same files across multiple tests. Upload the files to Shared Folders and include the folders in as many tests as you like. Shared Folders provide a more advanced alternative to simply uploading files to each test. You select which folders to include (rather than individual files). The folders are then downloaded to each of the engines in your test before it starts.
This approach gives you great power. You can update a large number of tests instantly by updating the contents of a single Shared Folder.
CAUTION! Always consider that any change you make will impact every test that includes that folder, not just the test you are currently configuring.
This article is about using Shared Folders in Performance tests. You can also use Shared folders in GUI Functional Tests.
JDBC drivers are an exception to this rule. These must be uploaded directly to the test, as shared folders do not currently support driver uploads.
- Create Shared Folders and Upload Files
- Reference Shared Folders in Your Script
- Remove a Shared Folder from a Test
- Delete a Shared Folder
Create shared folders and upload files
There are two ways to create a shared folder:
Create folders and upload files from within a test
Follow these steps:
- Create a new Performance test. For more information, see Creating a Performance Test.
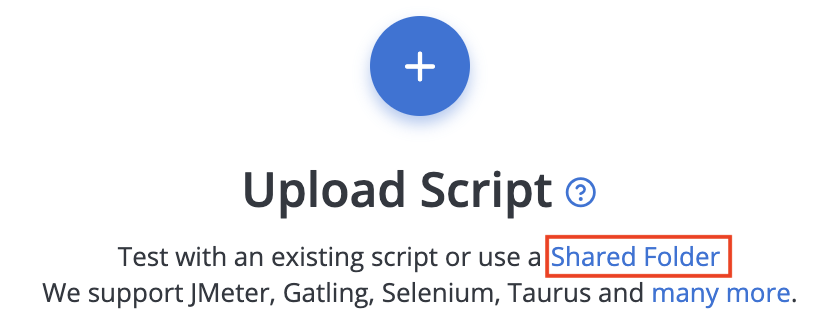
- Click the Shared Folder link in the Upload Script section.
-
To create a new shared folder, click the + button. To choose an existing folder, select the checkbox next to the folder.
-
If you are creating a new folder, fill in the folder name.
Spaces and special characters are not allowed. -
(Optional) To expand the folder and view the files, click the > arrow.
-
To upload new files to a shared folder, click the Upload file to folder icon.
- Click Accept.
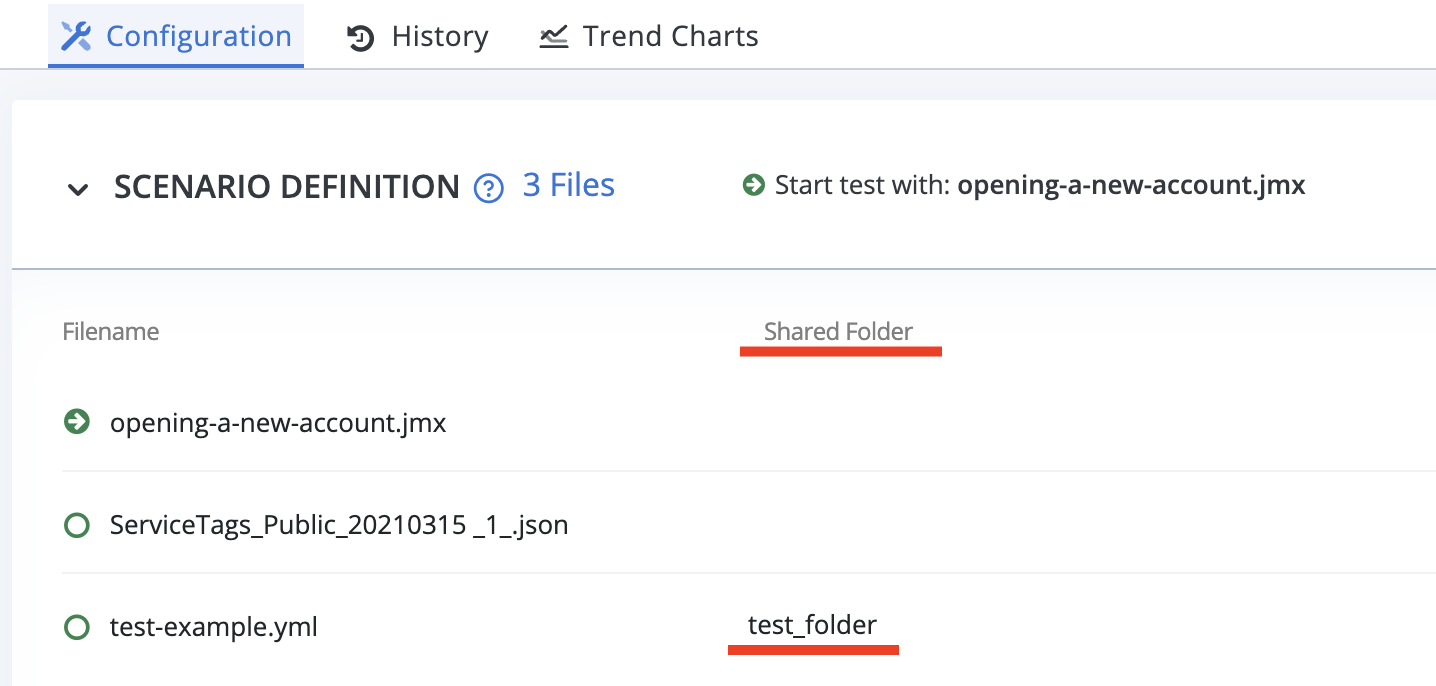
You can find your shared folders in the test in Configuration, Scenario Definition. The name of the shared folder shows in the Shared Folder column.
Once you create a shared folder, it is available to use with any test, not just the test you created it for.
Create folders from the workspace menu
- Navigate to Settings in the top right corner.
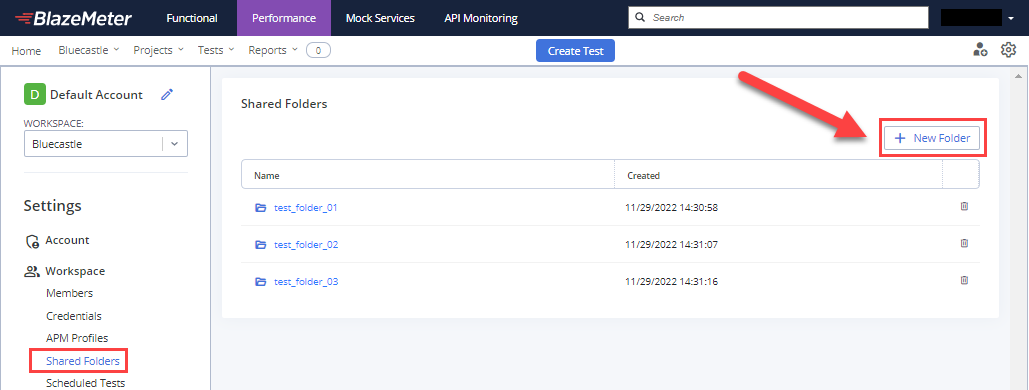
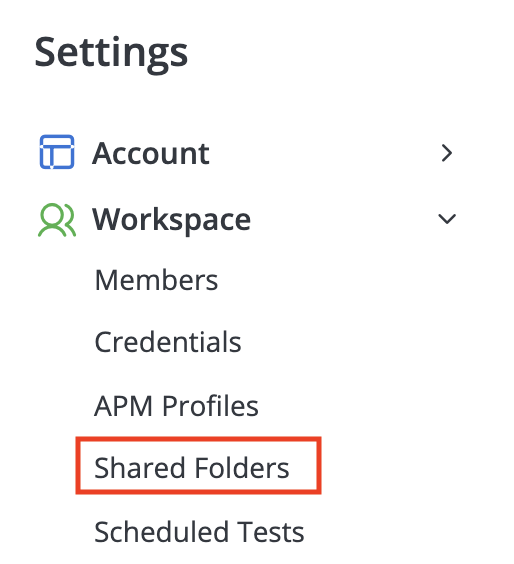
- From the Settings menu on the left, expand the Workspace section and select Shared Folders.
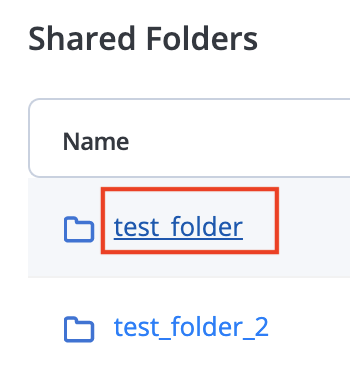
You can view your existing shared folders. - To create a new shared folder, click the + New Folder button.
- To add files to a folder, click the folder name.
-
Drop or upload files.
-
(Optional) To make the file read-only, toggle the Readonly button.
Reference shared folders in your script
To point to a file from an included Shared Folder in your script, use the "folder/filename" style path: folder1/file11.csv (no leading slash).
Remove a shared folder from a test
Follow these steps:
- Open a test and navigate to the Configuration tab.
- In the Scenario Definition section, hover over the + button on the right.
Once a shared folder is added to a test, a Shared Folders button is shown. -
Click Shared Folders.
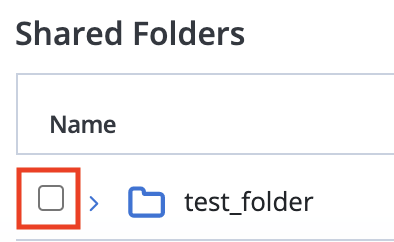
- Uncheck the folders that you want to remove from the test.
- Click Accept.
Delete shared folders or files
CAUTION! This procedure deletes the folder and its contents from all tests that include this folder.
There are two ways to delete a shared folder:
- Delete Shared Folders or Files from a Test Configuration Menu
- Delete Shared Folders or Files from the Workspace Menu
Delete shared folders or files from a test configuration menu
Follow these steps:
- Open a test and navigate to the Configuration tab.
- In the Scenario Definition section, hover over the + button on the right.
Once a shared folder is added to a test, a Shared Folders button is shown. - Click Shared Folders.
-
To delete a shared folder, click the Delete folder bin icon next to the folder name that you want to delete.
The shared folder will be deleted from all tests that are using the folder. -
To delete a file from a shared folder, expand the folder to display files and click the Delete file bin icon for the file that you want to delete.
The file will be deleted from all tests that are using the shared folder in which the file is located.
Delete shared folders or files from the workspace menu
Follow these steps:
- Navigate to Settings in the top right corner.

- From the Settings menu on the left, expand the Workspace section and select Shared Folders.

-
To delete a shared folder, click the bin icon next to the folder that you want to delete.
The shared folder will be deleted from all tests that are using the folder.If the Readonly toggle is ON for the shared folder, you cannot see the bin icon and cannot delete the shared folder. -
To delete a file from a shared folder, click the shared folder name to open it and then click the bin icon next to the file that you want to delete.
The file will be deleted from all tests that are using the shared folder in which the file is located.


