Add transactions manually
You can manually add transactions to the repository to account for cases that are not represented in a file or specification. Cloning a similar transaction is the simplest way to add a new transaction without importing, but you can create a transaction from scratch if a good reference point is not available.
The easiest way to add transactions is uploading files in a supported format, or add them manually, or record them. When manully adding a transaction, you first provide the criteria by which a request matches URLs, headers, query parameters, cookies, credentials, or request body, followed by the response that you want the virtual service to return when a match is detected.
To learn how to define all fields of a transaction in detail, see Edit transactions. To learn more about matching and strategies for creating requests, see Choose the right request matchers.
Add transactions
Follow these steps:
- Log in to your BlazeMeter account and click the Service virtualization tab.
- Click Asset catalog.
- Click the + button and select HTTP transaction.
The transaction details page opens.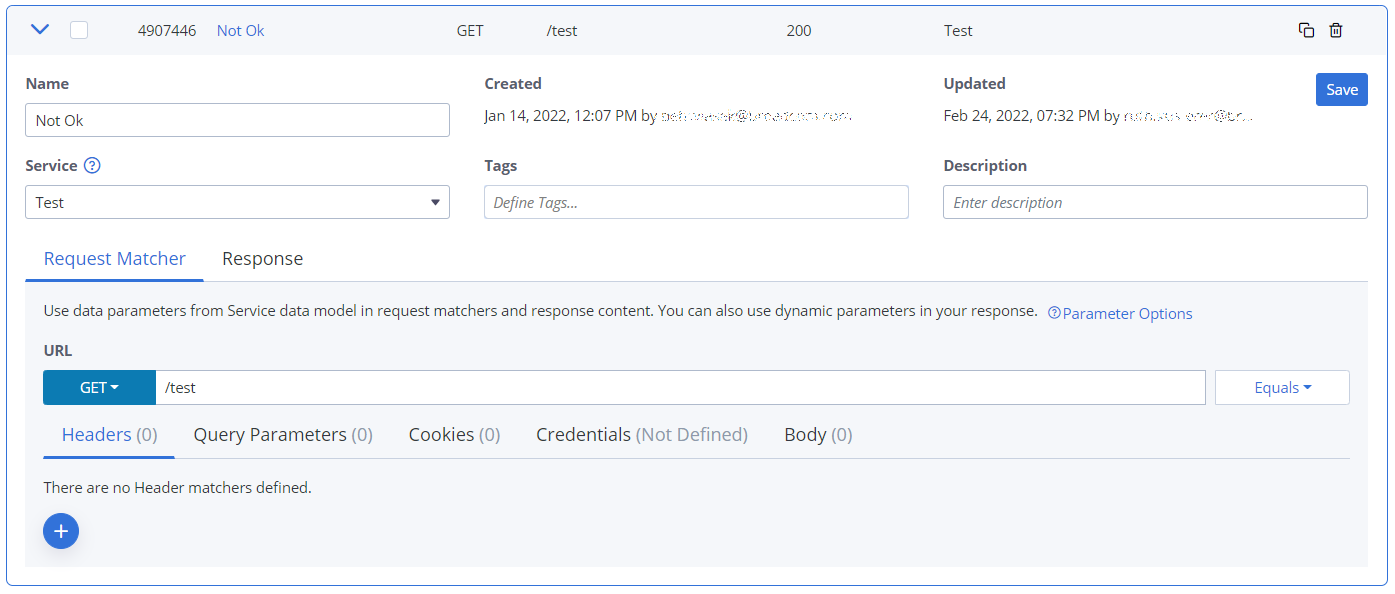
- Enter a name for the transaction in the Name field.
- From the Service drop-down, select the service to which to add this transaction, or create a new one.
- (Optional) To assign tags to transactions, type the tag name in the Tags field and press enter. To enter multiple tags, press enter after each tag name.
- Enter a Description for the transaction.
Next, define the request matcher and the reponse:
Match the request
In the Request matcher tab:
- Select the type of transaction you want to add. For example, GET, POST, UPDATE, DELETE.
- Define the URL in one of the following ways:
- Either select Equals and enter a fixed URL in the URL field.
- Or select Matches regex and enter a matching expression in the URL field.
If you are editing an imported transaction, you can change the URL to a regular expression to make the transaction match against a broader set of requests.
- Click Add in each of the following tabs to add the details of your transaction to match against any of these entities in your request:
- Headers
- Query parameters
- Cookies
- Credentials
- Body
To learn request matching details from examples, see Choose the right request matchers.
Simulate the response
In the Response tab:
- Select the Status code that the transaction will return with the response when a match occurs.
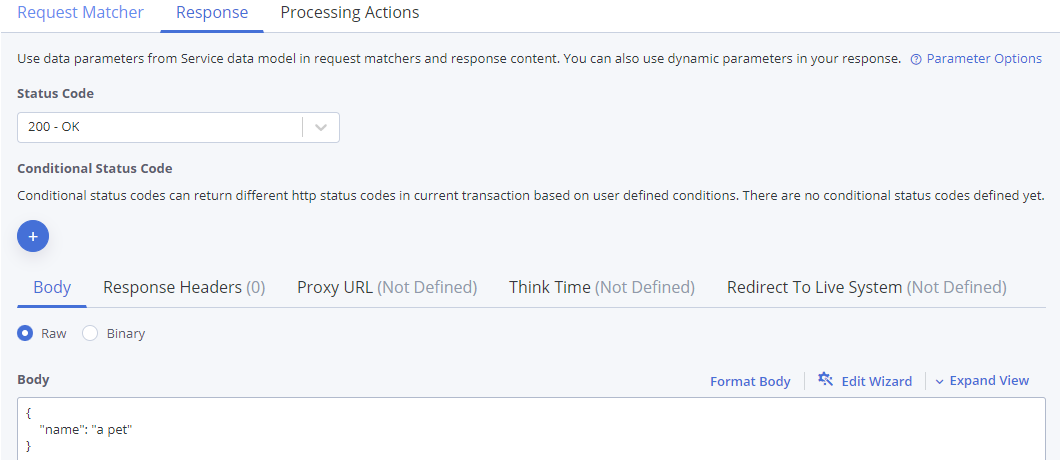
- Enter the response body in the Body field.
- (Optional) Define optional fields, such as response headers, proxies, simulated delays (think time), redirects to a live system, simulated fault responses, or authentication. To learn more, see Edit transactions.
- Click Save.
The transaction is added to the transaction repository.